The truth is that any work you carry out on your replicas has a degree of risk involved, from swapping out a hop rubber to a non-reversible job such as the one we’re about to walk through. All have their own potential dangers, some are as small as adding a few cosmetic scratches and some are potentially very expensive… A replacement receiver for a TM MP7 is going to cost you a lot of money, and that’s assuming you can even get one at that point in time.
Never underestimate or half arse a job, it’ll cost you much more than the time and money you were trying to save.
As with much in life, preparation is key to any modification. If you understand and know the job down to the last detail, it’ll eliminate most of the risk.
The second part is to use the best tool you have for any given job, that’s especially true with Tokyo Marui replicas… Selecting an incorrect screwdriver could result in a stripped bolt head or worse… A stripped thread in the (often) plastic receiver.
I’ll be the first to admit I’m easily talked into something, a few weeks ago I’d have sworn that I’d never be cutting the front end off my MP7.
However, after posting a picture of my MP7 in all its glory on IG I received a comment from @mr_edgley that made me take a second look at it.

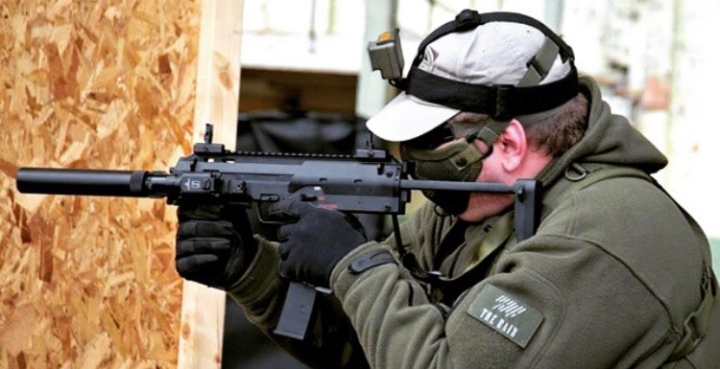
Now this alone might have just been passed off as someone else’s opinion but having had experience of a railed “Navy” MP7A2 in the form of my old VFC GBB, I remembered how much I actually missed that Magpul RVG on the front.
Add that to a little bit of human nature, always wanting to be a little different… It’s not a modification you see all the time, certainly not on a TM.
To paraphrase Dave of Maple Leaf Tactical “What I wouldn’t give for a properly sized TM MP7 with a recoil engine in it!”
I have to say that the VFC felt absolutely amazing, it’s just a massive shame the performance wasn’t on par with my expectations. There are many people who sing the praises of the VFC GBBR but I never got along with mine, the AEG version has certainly got its appeal but at the price point it’s at… I’ll keep the TM.
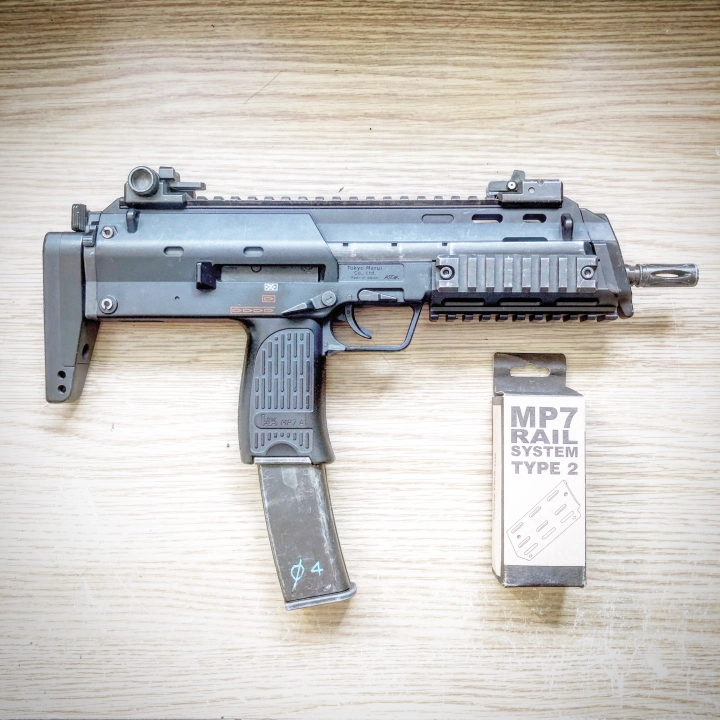
So what do you need to turn the Marui MP7 from its stock A1 format to a railed A2? I’d suggest the following as a bare minimum:
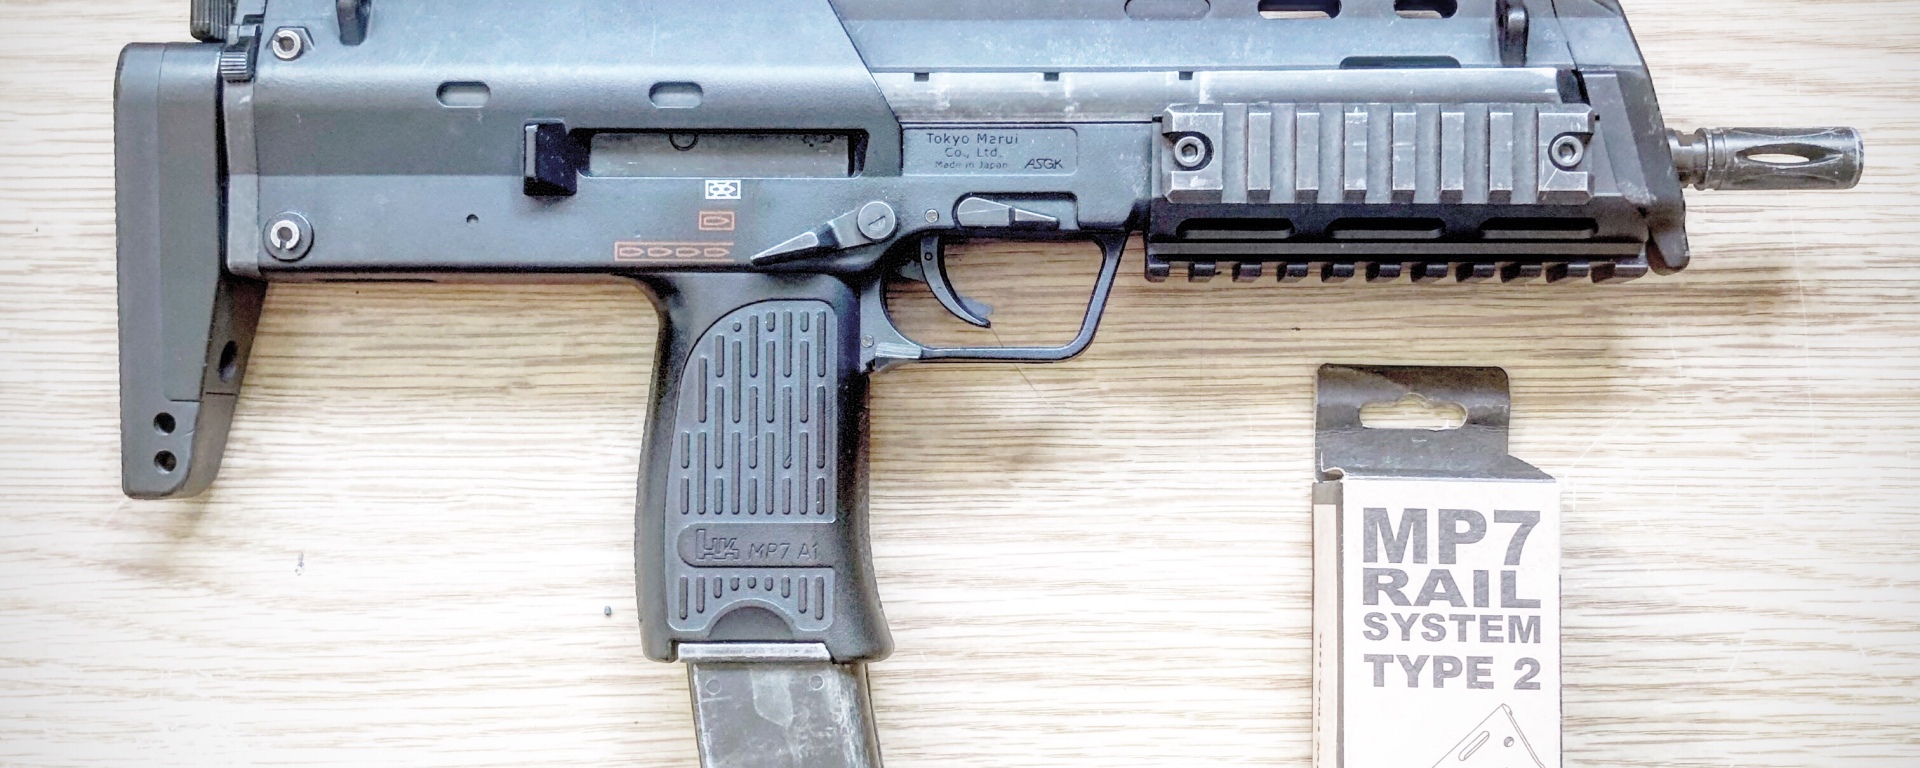
- Tokyo Marui MP7A1
- FMA Wilcox MP7 Rail (type 2)
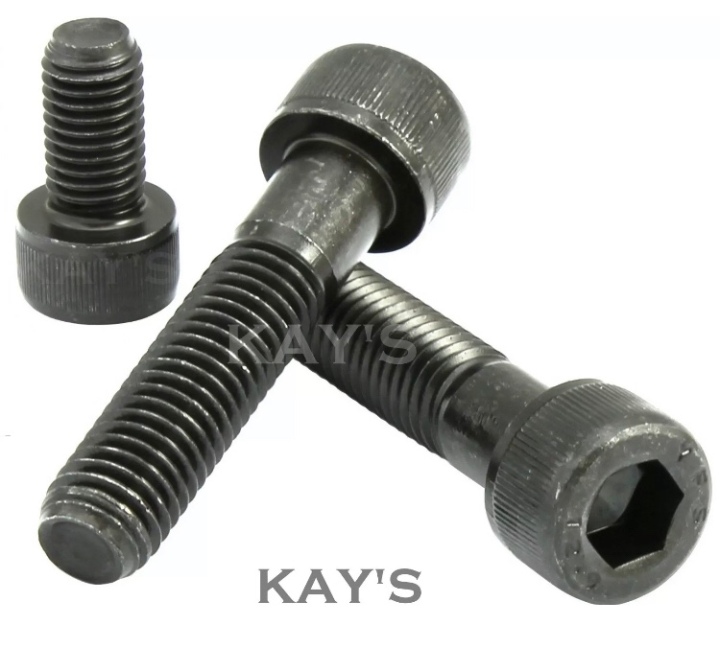
- 4 x M4 10mm Cap-Head Bolts
- Good quality Allen Key set
- Small flathead driver
- Rotary (dremel) tool
- Grinding disk (suitable for metal)
- Cutting disk (suitable for plastic)
- Sanding wheel (for finishing)
- Thread-lock
- Masking/electrical tape
- Eye protection
 With the tools and parts taken care of, all you need is a clear workspace and a bit of uninterrupted time. The job itself only takes about 5 minutes, the prep takes about another 10. So 15/20 minutes, but remember it’s not about speed… Accuracy is what counts so make sure you take your time and get it right, you’ll only get one shot.
My advice would be to remove everything you can from the MP7, take off the stock and the sights, remove the flash hider and take out the mag… Anything that isn’t inside the MP7 will only get in the way.
There is a good argument for also stripping the bolt and barrel assembly out of the receiver before you start cutting but I didn’t think this would be essential as with the bolt in there it’s one less ingress point for the plastic/aluminium dust and swarf your about to create. I did also take off the side rails as they’ll need to come off anyway and taping up the ingress points is easier to do once they’re off.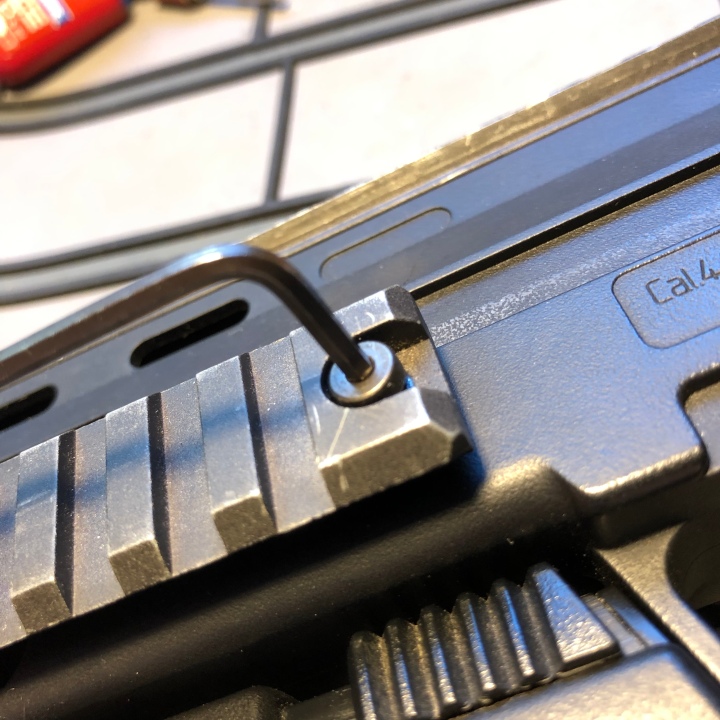
Next up you’ll want to start removing the foregrip itself, I’ve seen people hack away at the mount with this still attached but trust me… it’ll get in the way and you’ll risk cutting into the parts you don’t want to.
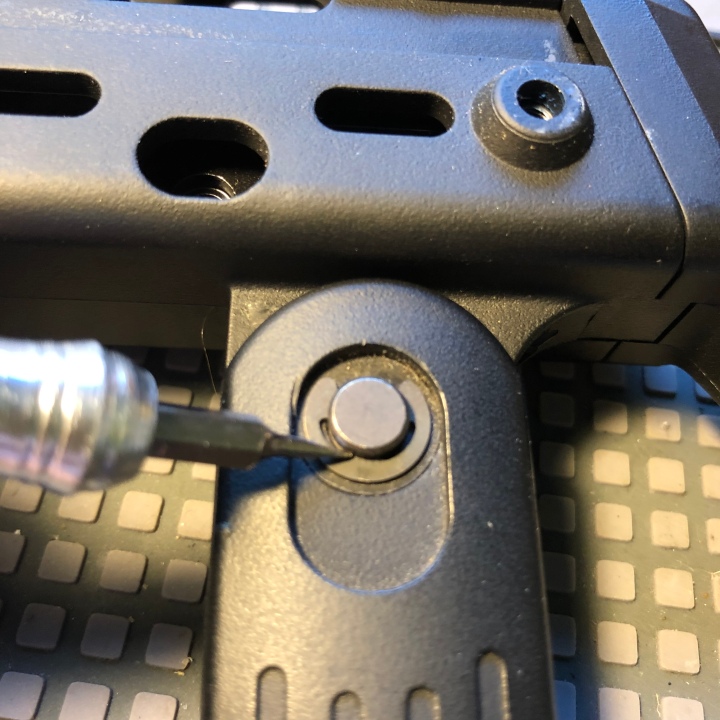
To remove the grip, simply pop off the E-clip with the flat blade driver (it can be quite tough but a firm push should pop it off).
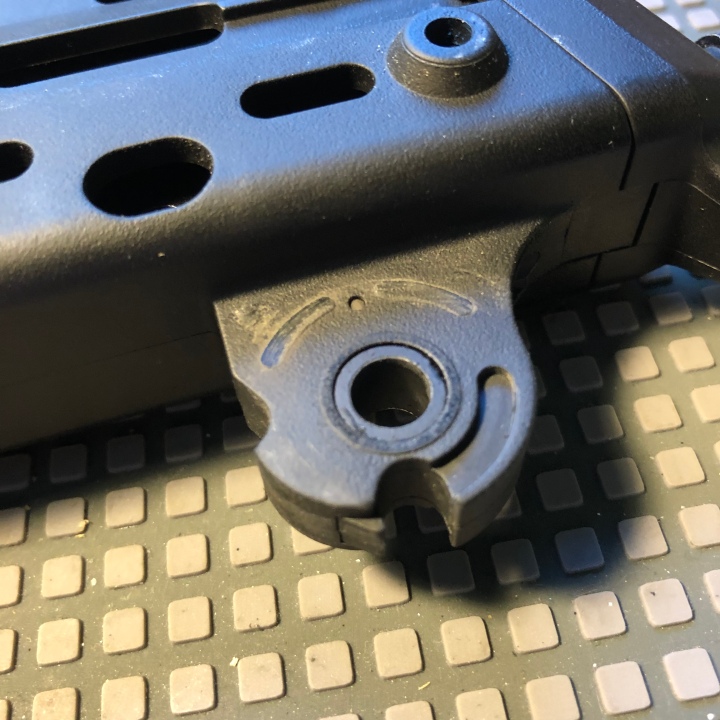
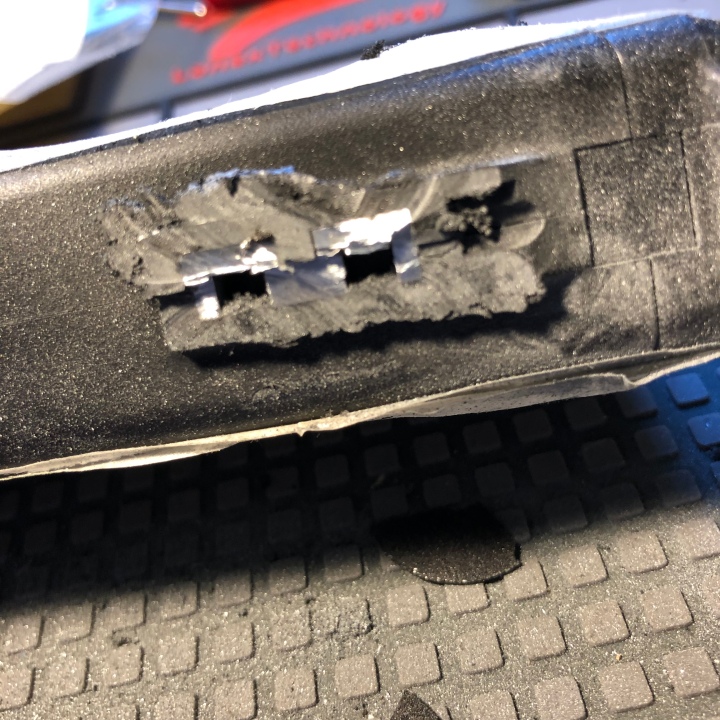
Once the clip is removed, push the axle/pin through and the whole grip should simply pull off. This will leave you with the mounting lug exposed as below. note that the TM is different to the KWA MP7 in that the lug is reinforced with an aluminium insert, making the cutting itself a fair amount more challenging.
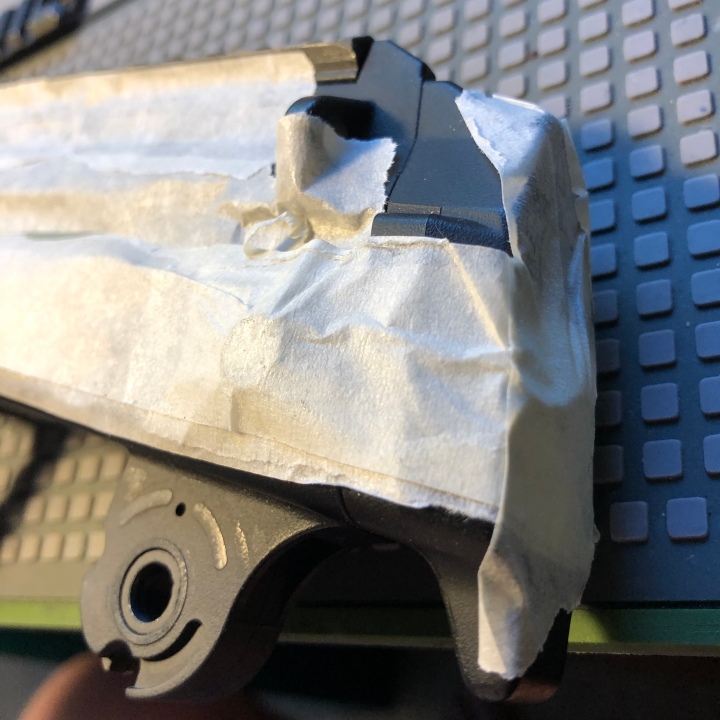
A final touch before you start cutting is to ensure that none of the aforementioned swarf/dust can get itself inside your MP7, if you don’t take the following precautions I can assure you that your MP7 will rapidly eat itself to death.
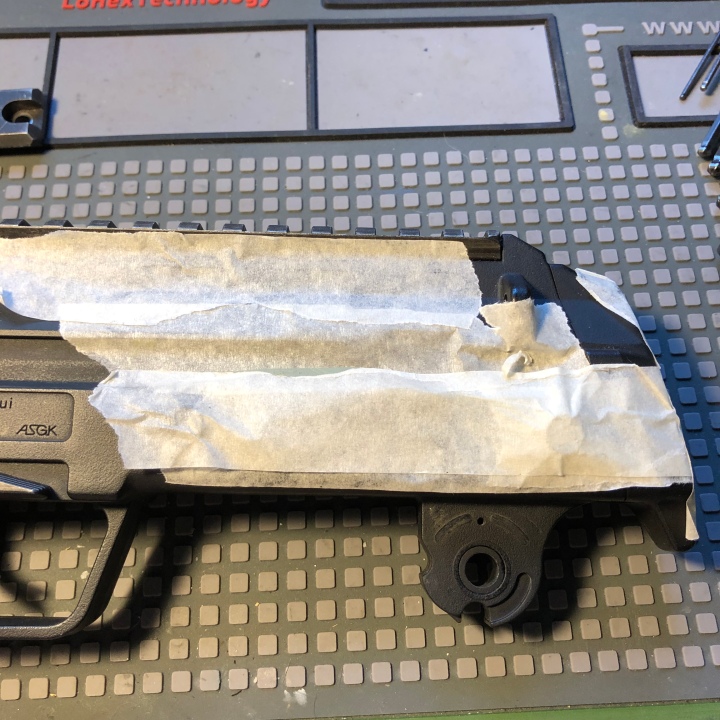
Starting at the muzzle, apply a generous amount of masking or electrical tape to any ingress point on the replica. I went as far as to cover the forward “ventilation” holes, trigger housing, all bolt holes and ejection port. I also worked with as much of the dust being collected by an old Jiffy bag taped to my workbench (saves on the cleanup later).
Once your satisfied that nothing is getting in, you can start the butt puckering job of cutting up what is currently, A working and functional MP7A1.
If you are in any way unsure of your ability or have second thoughts, now is the time to stop. Now I’d hope that you’ve read the whole article before even buying your FMA Rail but if you haven’t, now is the time to read the whole article before getting all choppy.
Selecting the all purpose cutting disk in your rotary tool, you can start to cut away at the plastic surrounding the metal reinforced lug. I’d suggest a relatively low speed as the plastic will heat up and cause the blade to stick otherwise.
You’re looking to cut close to but not quite up to the receiver itself, too close and you risk damaging the receiver. 2-3mm from the body is about right, you can neaten up the job after the bulk of the material is removed.
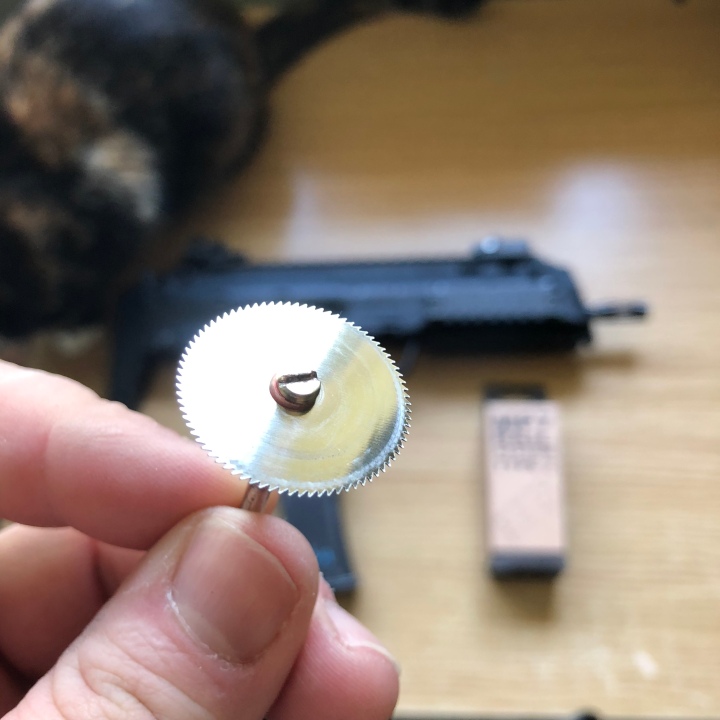
Once your through the plastic on one side, you can either flip the MP7 over and cut the other side off or you can start cutting the metal. Either way, once you want to start cutting the metal you’ll want to switch to a thin “grinding” type disk. These are fantastic for cutting aluminium but can get stuck in plastic, causing it to shatter… not good if your face is in the path of hot sharp disk fragments.
Set the speed to a higher number and begin working, be careful that the blade doesn’t twist and that it doesn’t grab on the material. Either will result in the disk exploding or the MP7 getting an unexpected chunk knocked out of something vital like the trigger guard.
After a few minutes of careful cutting you should be left with a rough but close cut in the bottom of your MP7, now it’s time to break out the sanding wheel…
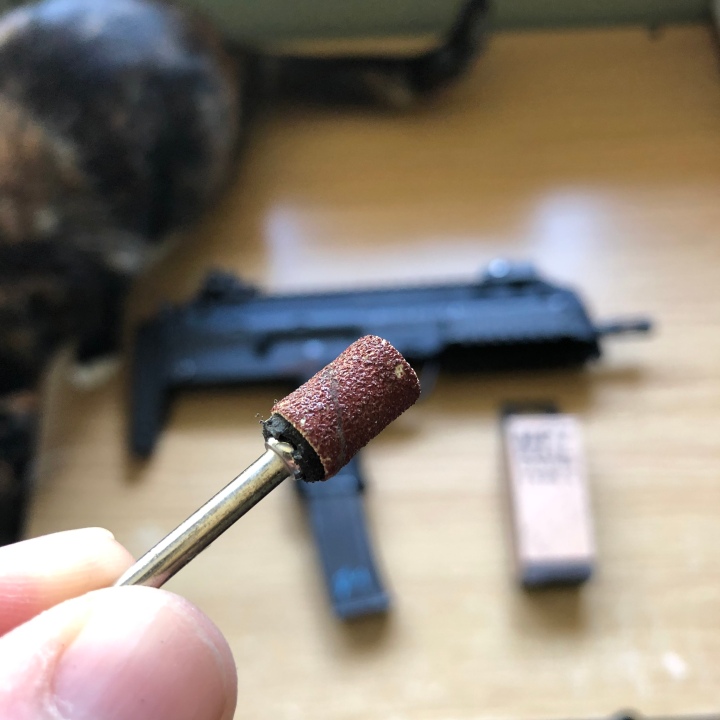
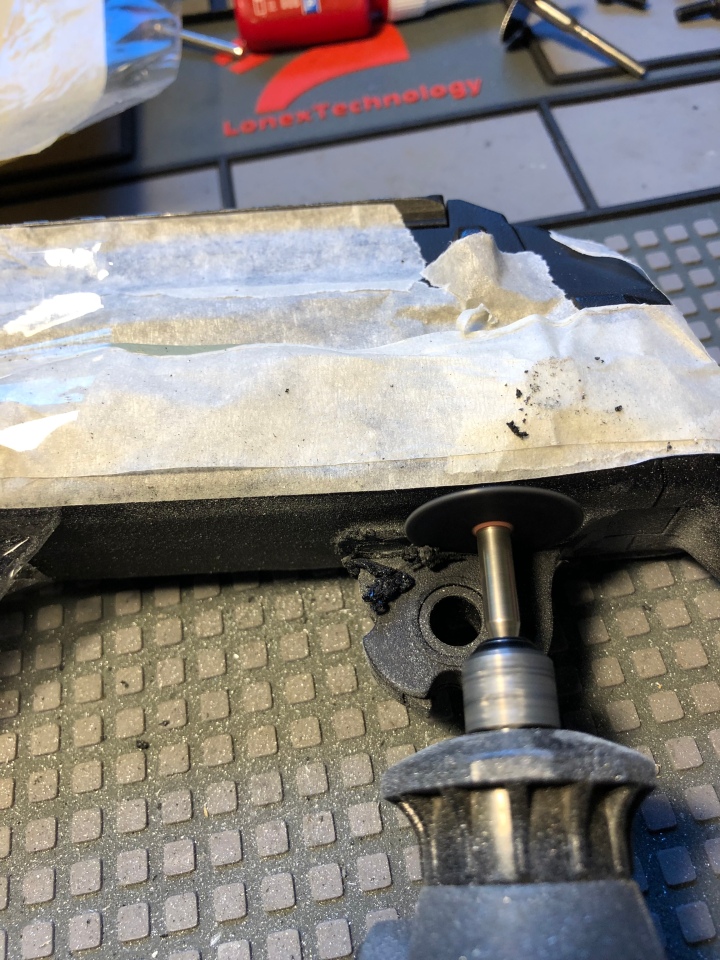
Working from the front to back, start grinding the material that’s left down to no more than 2mm protruding from the receiver.
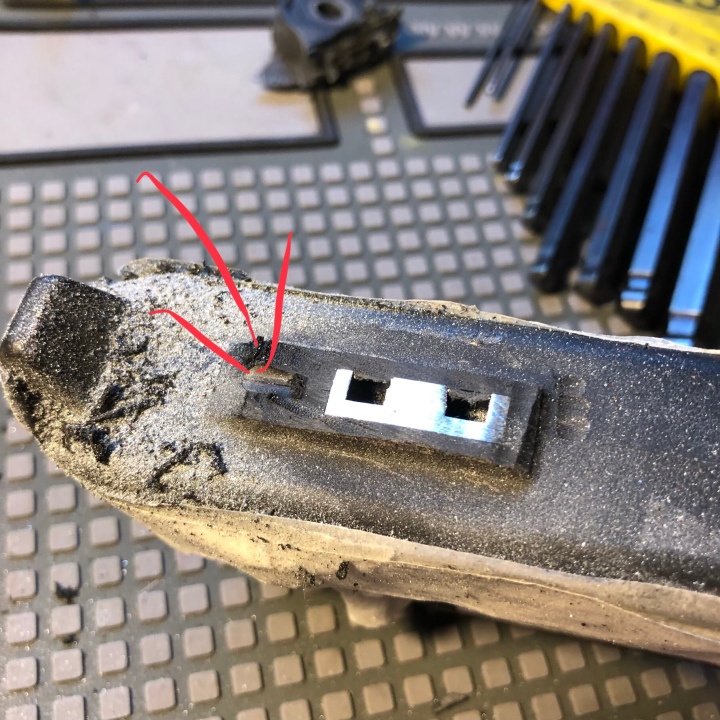
 Any more than this and your rail won’t have enough clearance to fit the body. you can see the below picture where I’m using the reinforcement filleting on the front of the lug to give myself a reference point to work to.
Once your down to pretty much that level all the way across, your rail should be able to fit without much issue. Before you get carried away and start ripping off the tape, make sure your happy with the cut and clear off as much of the crap as possible, once the tape is off you risk getting aluminium dust inside the replica which will end badly for your MP7 and your wallet.
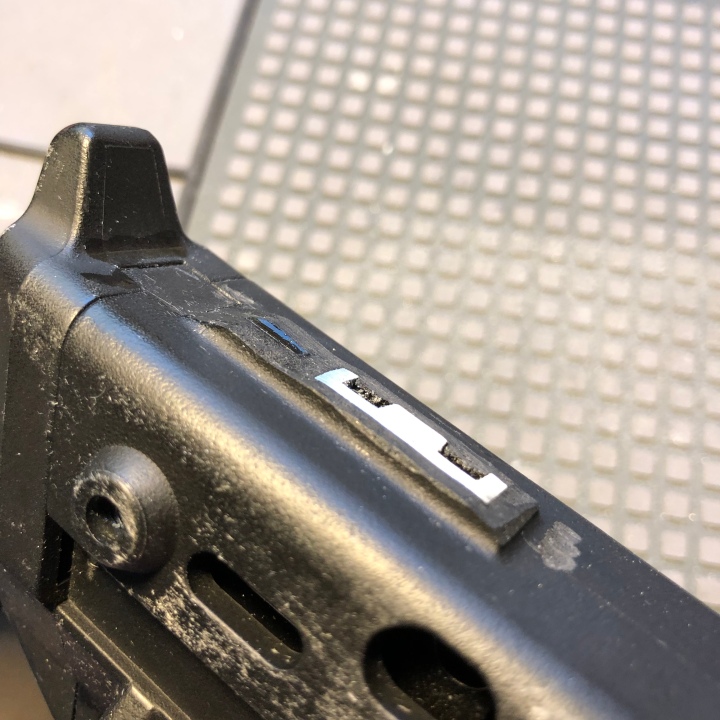
You can see here that I’ve caught the underside of the body with the sanding wheel, unfortunate and annoying but not the end of the world. The FMA Rail will be permanently in position and you’d never see my shit dremel skills, the fact that I’m still annoyed is just something I have to deal with 😂.
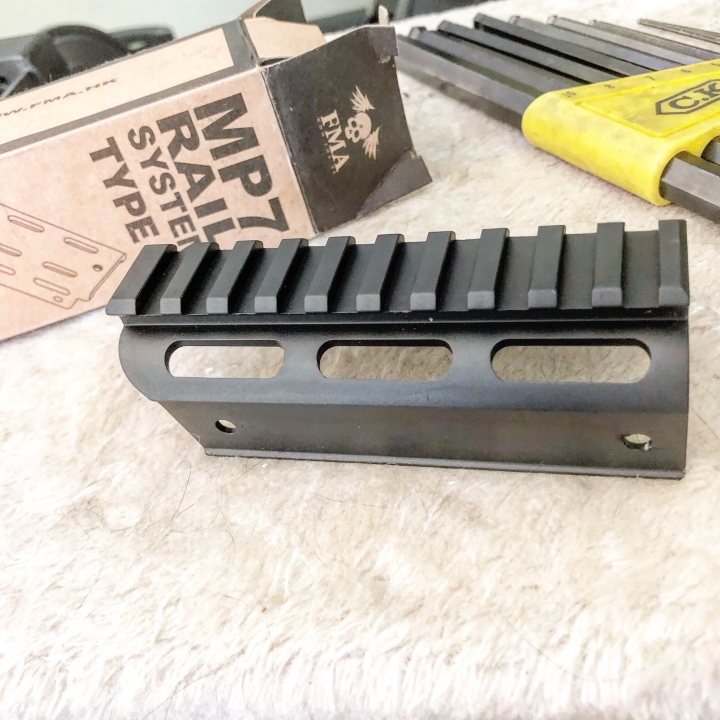
The FMA MP7 Rail (Type 2) differs from the ones I’d seem being installed, it’s a replica of the Wilcox rail being used by discerning MP7 users and what’s factory installed on the MP7A2 but the type 2 doesn’t have a separate bottom rail, it’s a one piece unit.
The FMA rail relies on recycling the original side rails to then bolt back in place on your MP7, one thing that will require another small yet vital investment. I’d heard that the FMA Rail requires slightly longer bolts to secure it in the Tokyo Marui MP7A1, with that in mind I double checked the current bolts (M4 standard pitch, 8mm depth, cap head) and guesstimated that another 2/3mm would be sufficient. I ordered both 10mm and 12mm bolts to ensure I didn’t have to wait any longer and once they arrived I triple checked their fitment to make sure I’d be ready for the rail to arrive… It turns out that the 10mm bolts were perfect, if you don’t fancy doing the hard work yourself, simply order the same ones I did…
Gently sliding the rail into place, you can then line up the holes. If it doesn’t fit, you’ll need to remove more material from the bottom. The hole spacing on mine was about 0.5mm out overall which given that it’s made for a KWA replica is not bad, I didn’t need to take any material off the rail itself, I simply hand threaded on all four bolts and once the rail was in place I tightened the bolts down. Thread-lock is often overlooked but on recoils and GBBRs it’s an essential part of your tool box, apply a spot on all four bolts and you’ll not have to worry them coming loose.
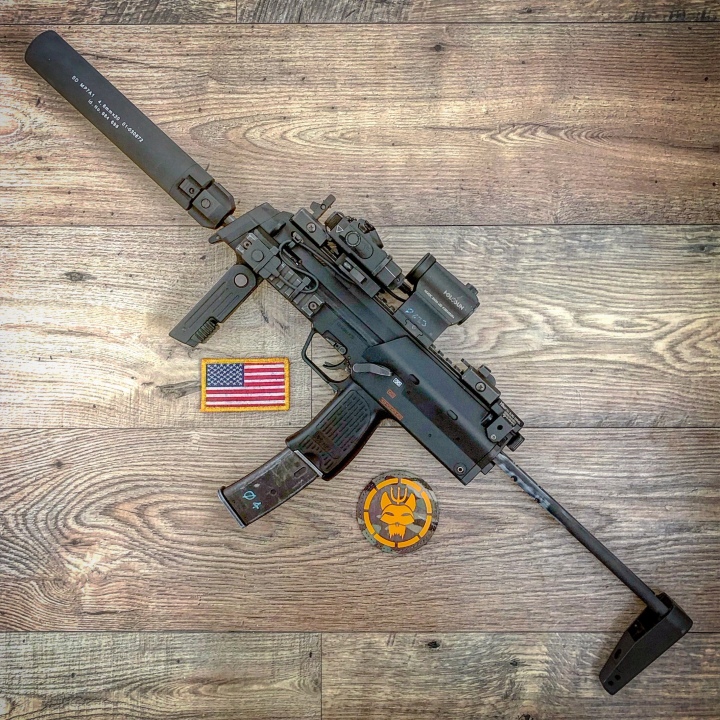
Once the rail is in place you can go about reattaching all your accessories, the first one probably being your new fore-grip of choice!
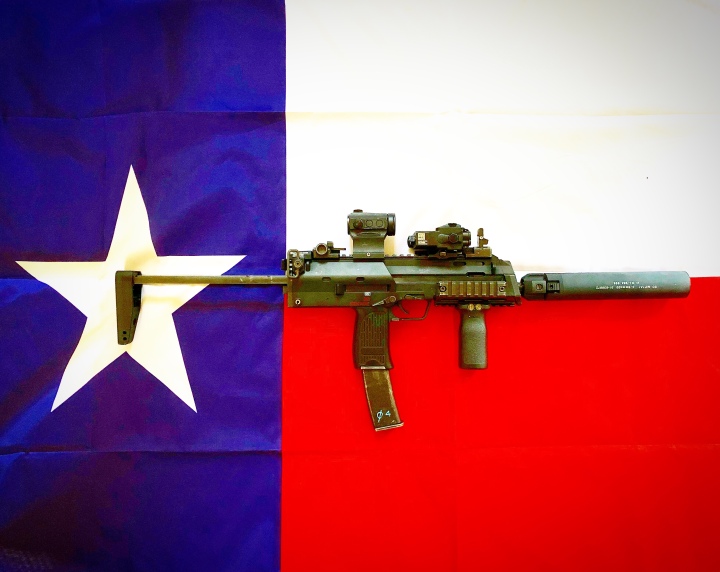
Have fun with your new MP7A2 and happy hunting!

Hello, thank you very much for the detailed instructions. I have a question. Would the rail also fit the Umarex MP7 metal housing? Many thanks for the answer.
LikeLike
No, it’s designed for the Tokyo Marui which is smaller than the Umarex/VFC
LikeLike